Want to transform your living room with wall art and not sure where to begin?

How Can I Use Wall Art To Transform My Living Room?
Using wall art is one of the most powerful and accessible ways to change the look and feel of your living room. It can define a focal point, introduce color and texture, reveal personality, and even alter perceived room proportions without major renovations.
Why wall art matters more than you think
Wall art sets the tone for the entire room, whether you want cozy and calming, bright and energetic, or elegant and refined. The right pieces communicate style, anchor furniture groupings, and make your space feel intentionally designed rather than thrown together.
Start with a clear goal
Before choosing pieces, clarify what you want to achieve: a mood shift, a focal point, balance, or more color. Having a clear goal guides every decision from size and placement to frame and lighting.
Ask the right questions about your goal
Consider these questions: Do you want the room to feel larger or cozier? Should the art support existing colors or introduce a new palette? Answering these will help you narrow choices quickly. Keep a note of preferred themes and emotions you want each area to evoke.
Set a budget and timeline
Decide how much you want to spend and whether this is a long-term style or a temporary update. You can create a dramatic transformation on a modest budget by focusing on scale, arrangement, and a few key pieces. Knowing your timeline will help: sourcing original works can take longer than purchasing prints or creating DIY art.
Understand scale and proportion
Scale determines how comfortable and balanced the room feels. Too small art on a large wall reads as an afterthought; too large art can overwhelm adjacent furniture.
Use simple rules for sizing
For a piece above a sofa, aim for art that is 60–75% of the sofa width. For a gallery wall or multiple pieces, consider total grouping width rather than individual frames. These rules create visual harmony and keep the focus where you want it.
Table: Recommended art sizes based on furniture width
| Furniture width | Recommended single artwork width | Recommended grouped artwork width |
|---|---|---|
| 48 in (121 cm) | 29–36 in (73–91 cm) | 29–36 in (group total) |
| 60 in (152 cm) | 36–45 in (91–114 cm) | 36–45 in (group total) |
| 72 in (183 cm) | 43–54 in (109–137 cm) | 43–54 in (group total) |
Choose a focal point
Decide where you want eyes to land when someone enters the room. A strong focal point simplifies the rest of the design choices and helps maintain a cohesive feel.
Create a single commanding focal point
A large statement piece, a showroom-quality mirror, or a thoughtfully arranged gallery wall can serve as a commanding focal point. Make sure the surrounding décor supports rather than competes with it.
Or layer multiple secondary focal points
If your living room has multiple seating areas, create smaller focal points for each zone — a framed artwork above an armchair, a bold print above a console table. This distributes attention and makes the whole room feel cohesive.
Select a style that fits your personality
Wall art should match your lifestyle and the room’s overall design. You can choose from modern, traditional, eclectic, minimalist, abstract, photorealistic, or mixed-media approaches.
Match art style to the room’s architecture and furniture
If you have mid-century modern furniture, geometric or abstract art can reinforce the era. If your room is classic or formal, consider landscapes, figurative work, or gilded frames for a cohesive aesthetic. Mixing styles can work, but aim for one unifying element, such as color or scale.
Balance trends with timeless pieces
Trendy artwork can feel current, but timeless pieces keep the room feeling sophisticated over years. If you love a trend, combine one trend-driven element with a few classics so you can change the look easily.
Use color intentionally
Color can define mood, create contrast, or harmonize the palette. Think about whether you want art to complement, contrast, or introduce a new accent color.
Complementary vs. contrasting color strategies
Complementary art repeats colors already in the room, creating harmony and subtlety. Contrasting art adds punch, bringing energy and focus. Use color theory basics: warm colors advance and command attention; cool colors recede and calm the space.
How to pick a dominant color from art
Choose one dominant color from a piece and repeat it in accessories (throw pillows, rugs, vases) to tie everything together. Even a small repeat of the dominant shade can make the room feel intentional.
Consider texture and medium
Art isn’t only about image; texture and medium add depth and tactile interest. Canvas, oil, acrylic, paper, metal, wood, textiles, and mixed-media all contribute different visual weights.
Mix flat and dimensional pieces
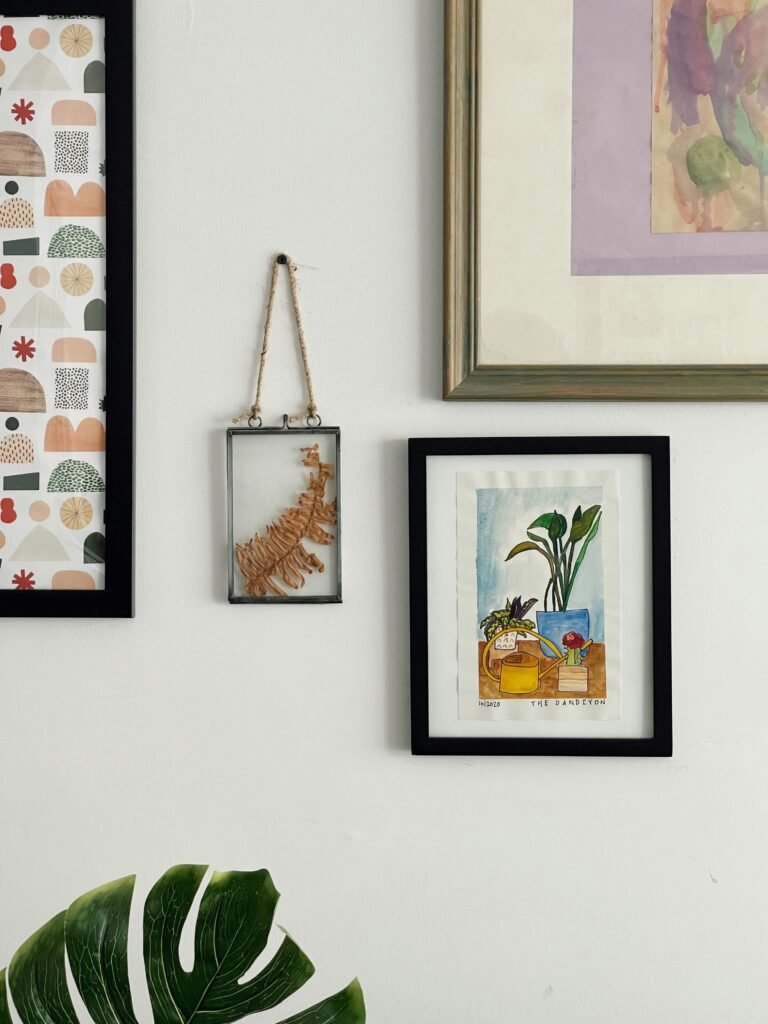
Mixing flat framed prints with sculptural wall pieces or tapestries brings life and variety to the wall. Textural art, like fiber art or wood panels, can soften a room dominated by smooth surfaces.
Table: Pros and cons of common art materials
| Material | Pros | Cons |
|---|---|---|
| Canvas (prints or original) | Affordable, lightweight, many styles | Can look casual if not stretched or framed |
| Paper prints (framed) | Crisp detail, affordable options | Needs framing and glass for protection |
| Oil/Acrylic originals | Rich texture and depth | Expensive, heavier, requires care |
| Metal art | Modern, durable, reflective accents | Can be heavy and cold-feeling if overused |
| Textile/tapestry | Softens room, great for acoustics | Requires proper hanging and care |
| Mixed-media | Unique, highly textured | Often irregular shapes and heavier |
Create balanced arrangements
Arrangements can be symmetrical, asymmetrical, grid-based, salon-style, or centered around a single piece. Balance creates visual comfort and helps the eye move through the room naturally.
Symmetry for calm, asymmetry for energy
Symmetrical arrangements feel formal and calm; asymmetrical layouts bring energy and a contemporary vibe. Choose a balance style that matches the mood you want to set.
Use negative space deliberately
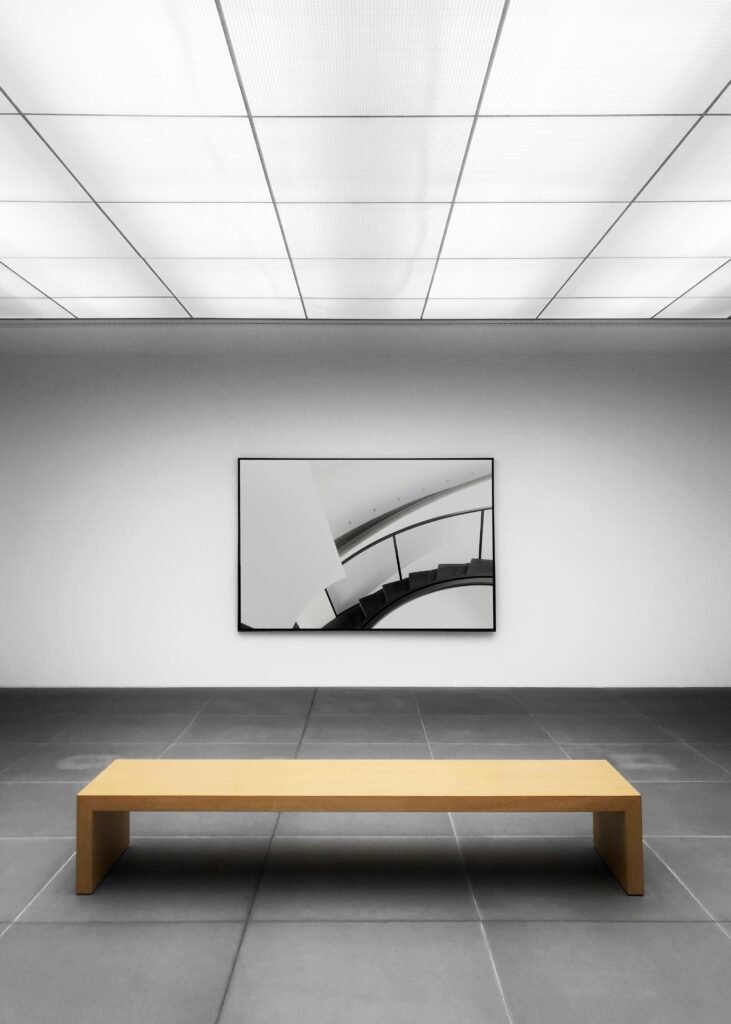
Allow breathing room around art so each piece can be appreciated. Crowding the wall can make the space feel cluttered, while intentional spacing creates rhythm and emphasis.

How to hang art correctly
Hanging art at the right height and using the correct hardware is crucial for both aesthetics and safety. Attention to detail here makes the difference between a polished look and a rushed installation.
Standard hanging height and exceptions
A common guideline is to hang art so its center is about 57–60 inches (145–152 cm) from the floor, which aligns with average eye level. For over furniture, keep the bottom edge 6–12 inches above the piece to maintain connection. If you have high ceilings, scale upwards but maintain relative proportions.
Choose appropriate hanging hardware
Use anchors, studs, hooks, or picture-hanging systems based on the weight of the art and wall material. For heavy pieces, anchor to studs or use toggle bolts. For gallery walls, picture rail systems or French cleats can make alignment easier and more secure.
Create a gallery wall like a pro
A gallery wall is flexible, expressive, and can be tailored to any budget. When designed well, it becomes a powerful focal element.
Plan your gallery wall before you hammer nails
Lay pieces on the floor or create paper templates to test arrangements. This helps you visualize spacing and scale without damage. Start with a central anchor piece and build outward for a cohesive shape.
Grid vs salon layout
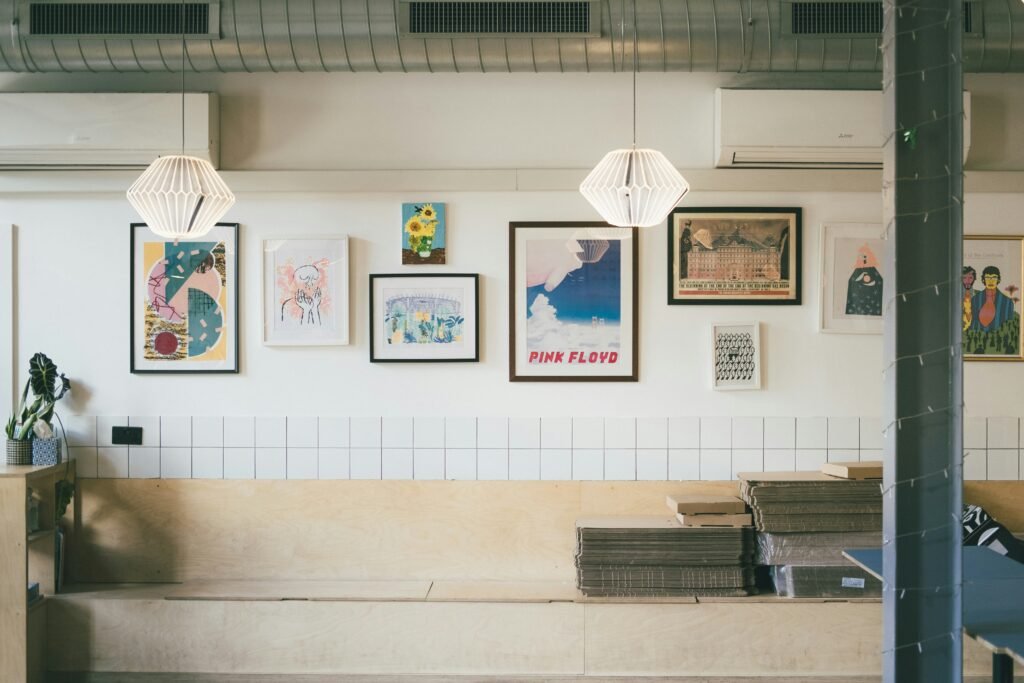
A grid layout creates order and works well with similar-sized frames. A salon-style (eclectic) layout mixes sizes and orientations for a collected, layered look. Both approaches can be striking — pick the one that best reflects your taste.
Step-by-step gallery wall plan
- Choose a wall and measure available width/height.
- Select art pieces and determine a unifying element (color, frame, theme).
- Create paper templates to map the arrangement.
- Start with the center or lowest point and add pieces outward.
- Maintain consistent spacing (2–4 inches) between frames for cohesion.
- Step back and adjust before finalizing nail positions.
Use lighting to enhance the art
Good lighting elevates wall art, reveals texture, and creates mood. Natural light is beautiful but should be managed to avoid UV damage; artificial light offers control and consistency.
Types of lighting for art
Picture lights, track lighting, recessed adjustable fixtures, and wall washers are common choices. Use warm LED lamps to prevent heat and UV damage and to flatter colors. Aim for even illumination without glare.
Lighting placement tips
Place lights at a 30-degree angle to minimize reflections and distribute light evenly. For small works, use adjustable fixtures to direct beams precisely. Dimmer switches give you control over ambiance for different times of day.
Reflect your lifestyle and function
Your living room is used for relaxation, entertaining, reading, or media viewing. Choose art that complements these activities and stands up to practical needs.
Durable choices for high-traffic or family homes
If you have children or pets, choose art that is unbreakable or placed out of reach. Consider washable frames and avoid fragile glass in low areas. Large-scale, bold pieces are also easier to maintain visually.
Create zones with art
Use art to differentiate zones: a calming landscape near a reading nook, an energetic abstract near a game or entertainment area. This helps the room function logically and feel balanced.

Mix originals, prints, and personal items
A room feels most authentic when it includes both curated and personal pieces. Combine gallery finds, purchased prints, and personal photographs or memorabilia for a layered, lived-in look.
How to incorporate personal photos without looking dated
Use consistent framing and matting to make a collection of personal photos look cohesive and modern. Convert photos to black-and-white or apply a unified color wash to integrate them with broader room colors.
Buying art vs. making art
Buying supports artists and offers polished pieces, while DIY art is personal and budget-friendly. If you create art, treat it with the same framing and spacing principles to keep it looking intentional.
Scale your investment for maximum impact
You don’t need to spend a fortune to dramatically change your living room. Strategic purchases, thrifting, prints, and well-executed DIY projects can create high-impact results on modest budgets.
Where to spend and where to save
Invest in one or two high-quality pieces if you want long-term impact; save on complementary pieces via prints, thrift finds, or DIY frames. Investing in good lighting and framing often yields better results than buying multiple low-quality works.
Budget-friendly sources of great art
Look for emerging artists, local art fairs, online print services, thrift stores, and limited edition prints. Frame inexpensive prints in uniform frames for a custom gallery look without high costs.
Use color palettes and themes to unify the room
A unified palette or theme makes different pieces feel part of a single story. This is especially useful if you collect art over time.
Establish a visual thread
Pick a recurring color, subject matter, or frame style to create cohesion across varied pieces. Even subtle repetitions — a single color in each piece — can harmonize a room.
Table: Thematic ideas and effect on mood
| Theme | Typical colors | Mood/Effect |
|---|---|---|
| Coastal | Blues, sandy neutrals | Relaxing, airy |
| Urban/Industrial | Greys, blacks, metallics | Edgy, modern |
| Botanical | Greens, earth tones | Fresh, calming |
| Minimalist | Monochrome, neutrals | Clean, serene |
| Bohemian | Jewel tones, eclectic patterns | Warm, layered |
Placement tricks for specific wall types
Walls vary: blank expanse above sofa, narrow wall by stairs, tall foyer, or fireplace surround. Each requires a tailored approach.
Above a sofa or console
For above a sofa, keep the bottom edge about 6–12 inches above the back. Cover 60–75% of the furniture width or create a multi-piece grouping that visually centers over the seating.
Fireplace mantel and above media units
Above fireplaces or media consoles, choose a single elongated artwork or a carefully balanced pair. For TV walls, consider flanking the screen with art or creating a built-in frame effect to minimize contrast between tech and traditional art.
Small or narrow walls
Use vertically oriented art to emphasize height on narrow walls, and avoid overly wide pieces that overpower the space. A tall mirror or vertical series of smaller frames can make a narrow wall visually interesting.
Combine art with decorative objects
Art doesn’t have to be isolated; shelves, consoles, and ledges allow you to layer art with ceramics, books, and plants to create curated vignettes.
Styling shelves and ledges with art
Lean framed pieces on shelves or against walls for a relaxed, flexible display. Vary heights and textures and repeat colors to create cohesion. This arrangement is easy to update when you want a change.
Table: Ledge styling formula
| Element | Quantity | Purpose |
|---|---|---|
| Framed artwork | 1–2 | Anchor and create vertical interest |
| Sculptural object | 1 | Add texture and contrast |
| Low vase/plant | 1 | Introduce life and color |
| Books | 2–4 | Provide base and balance |
Rotate and refresh your collection
Changing art seasonally or periodically keeps the room feeling dynamic and can transform the mood at low cost. Rotation also allows you to test new styles without commitment.
How often to refresh and how to store art
Rotate smaller pieces every few months or change the arrangement seasonally. Store unmounted prints flat and originals in climate-controlled conditions. Use protective sleeves and archival boxes for long-term storage.
Temporary changes for big events
Swap in bright, bold art for parties or muted landscapes for quiet gatherings to tailor atmosphere to each occasion. Easy swaps, like changing a single large piece or switching gallery wall inserts, create immediate impact.
Care and conservation basics
Art care ensures your pieces look their best for years. Even inexpensive prints benefit from thoughtful handling.
Cleaning and maintenance tips
Dust frames and canvases with a soft cloth; avoid cleaners that can damage pigments, frames, or glass. For framed prints behind glass, clean the glass gently; for textiles, consult a specialist. Keep art out of direct sunlight to prevent fading.
When to call a professional
If you have valuable originals, fire or flood-prone areas, or historic pieces, consult a conservator. They can advise on framing, glazing, and environmental controls to protect the work.
Practical checklist before you hang anything
A simple checklist saves time and prevents mistakes. Use it to run through priorities before placing nails in the wall.
Hanging checklist
- Measure wall and furniture widths.
- Choose focal point and style.
- Select frames and mats for cohesion.
- Create a mockup with templates or floor layout.
- Pick proper hardware and tools.
- Check for studs and wiring.
- Hang at target heights; step back and adjust.
- Add lighting and final touches.
Examples and inspiration scenarios
Seeing typical scenarios helps you imagine what could work in your home. Below are a few common living room setups and art strategies.
Scenario 1: Small urban apartment
You likely have limited wall space, so choose one bold piece above the sofa and a tall mirror to reflect light. Use lightweight frames and rotate art more often to keep the compact space fresh.
Scenario 2: Family-friendly home
Choose durable frames, avoid fragile glass at lower heights, and prioritize large-scale prints or canvases that won’t show every child’s fingerprint. Make a rotating children’s art frame to celebrate creativity without permanent commitment.
Scenario 3: Open-plan living area
Create distinct zones with art: a statement piece for the main seating area, cohesive supporting pieces near the dining or workspace. Use a color thread to tie the open space together and maintain flow.
Final tips to get started today
You can take actionable steps right now to set your wall art plan in motion. Small, deliberate decisions add up quickly to a transformed living room.
Simple starter actions
- Measure the main wall and take photos of the room.
- Choose one color to serve as an accent thread.
- Decide whether you want a single focal piece or a gallery wall.
- Collect 5–10 candidate pieces (prints, photos, thrift finds) and lay them on the floor to test options.
How to be confident in your choices
Trust the visual rules provided—proportions, spacing, and height—and then personalize. If something feels off after hanging, tweak rather than panic: shifting one piece, changing mat color, or adjusting lighting often solves concerns quickly.
Summary and encouragement
Transforming your living room with wall art is a process that blends practical measurement with creative intuition. You can craft a space that reflects your tastes, supports your lifestyle, and invites the reactions you want from guests.
Closing thought
Start with a clear goal, follow the sizing and hanging rules, and mix pieces that reflect your personality. With these steps, your walls will become one of your home’s most expressive and impactful features.
